Posts

Showing posts from May, 2021
Image
This may be Lukas's last sail on Liza for a while. He's off back to the UK. He did an immense amount of work during the lift out for which I'm thankful and so today it was a long sail with me, his mum (Sheila) and Lukas. We sailed across the bay to the Dhekelia Sailing club and watched them sailing, then back to the Larnaka Nautical Club and watched the kids learning to sail. Then back and the wind slightly dropped... And there's this mega yacht sitting outside the marina. We're peering over trying to work out which flag it's flying. Looks like Cayman Islands. It's name is Maryah… so looking it up on Google it's 125m long and 17m wide! Up to 54 guests with the owner and then 48 crew and 34 staff members! Staff members because there's a night club on board.
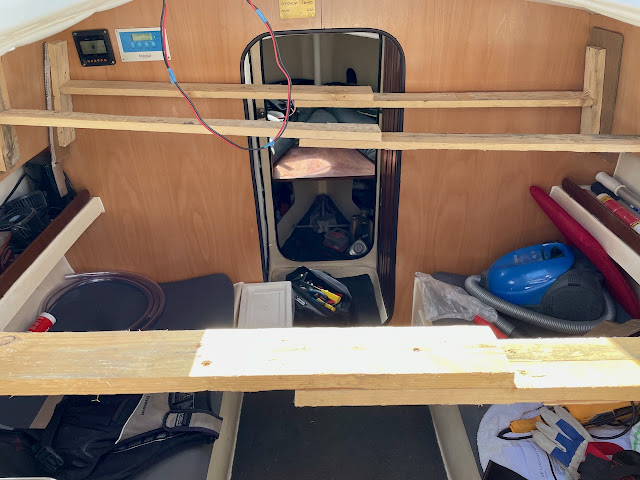
More wall work

Image
Placed new side walls to match in with the new bulkhead cladding. Looks very good. Still some work to do, but beginning to look like a modern yacht!  

Lange's new kayak

Image
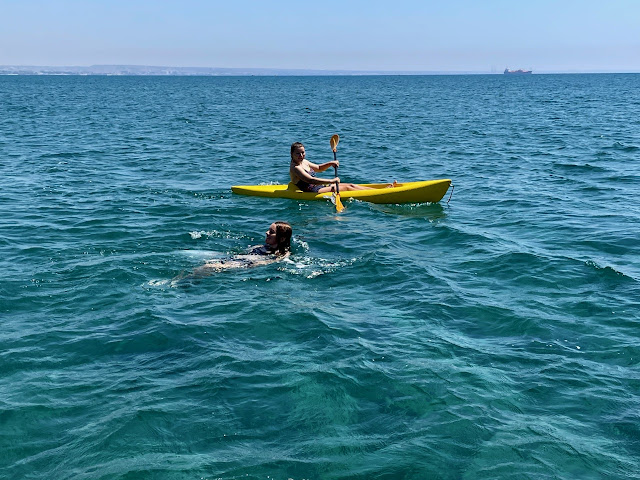
Sheila and Lukas bought a sit-on kayak so we took it out for a trial... but that's Katie on board and Helen swimming after her!  

Back in!

Image
We'd hoped to go back in yesterday but the winds were too high for a small boat like Liza so had to wait till today. We were added to the end of the queue for today… which mean not 12:00 as they had hoped but 14:00. However, outboard fired first pull and we're back in our berth. Now for some sailing.

Day 20 Liftout

Image
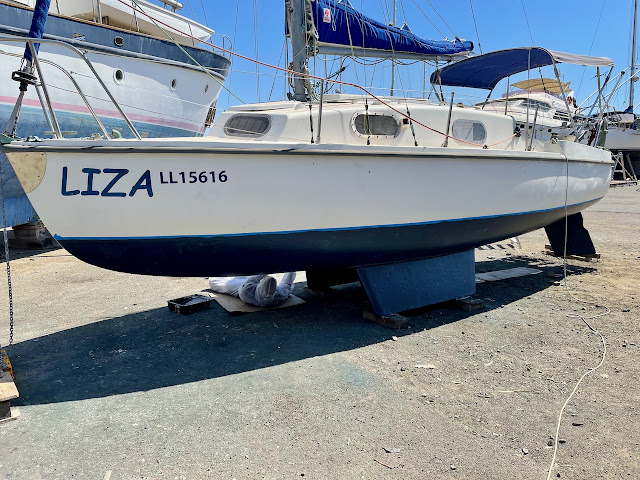
Too windy to go back in 24 kts gusting 30 kts which is high for a small boat. Tomorrow. They have been importing or exporting red earth in the port, and the wind was from the north so the boat has red earth dust everywhere! And the whole beautiful white hull is coated with this red earth almost glowing!

Day 19 Liftout

Image
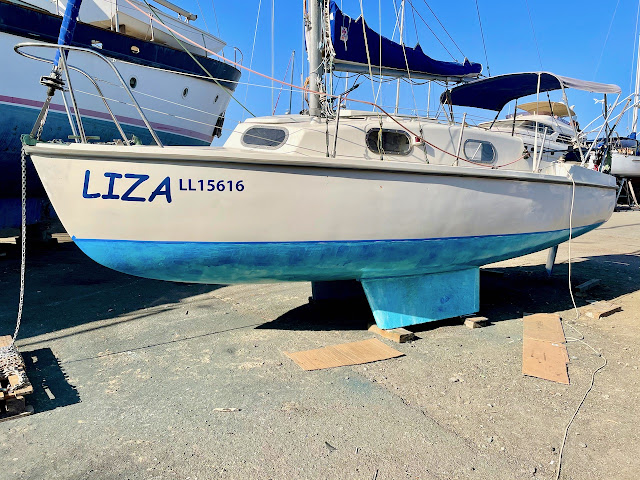
WE'RE READY TO GO BACK IN! We fitted the toilet back in place, did a final blue line down one side of Liza and refitted the 'ships carvings' inside. Liza is now ready to go back into the water tomorrow at 09:00!

Day 18 Liftout

Image
 Final two coats of anti-fouling and gel-coat over the fibreglass fot the toilet. We'll make it in time!

Day 17 Liftout

Image
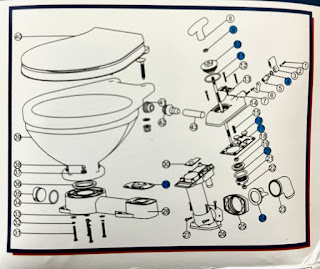
Major service toilet kit. The instructions is just a piece of card with an image approx 5cm x 4cm showing where the service parts fit. Most of it is now serviced. Two parts I struggled with to get screws undone, if it doesn't work well, I'll have to try harder which may mean drilling out the heads of the screws and replacing. Also fibre-glassed new mounting plate for the toilet in place. It had been a rather messy board screwed and glued on top of the old mount which no longer worked. Which also made it a bit high when you were using it! So cut all that old fibreglass away and made a new mount. It was dark by the time we finished!

Day 16 Liftout

Image
More painting and painting… and watching Morning Star into the water... we'll be following on Monday. There is something interesting Tony has done to his rudder… He has created a tunnel effect with almost a triple rudder. The aim of this is to improve steerage in reverse and to lighten the streerage in forward. Tony, being an ex-pilot is into fluid dynamics, so it will be interesting to see what effect it has. If it has the effect he hopes then maybe a lot of boats will do this. And what did we do on Liza ? Polishing and polishing the hull!

Day 14 Lift out

Image
  First layer anti-fouling But before that… a job I finally decided on yesterday. A through hull fitting that would enable salt water washing of dishes and water cooling for the fridge! It's amazing how thick my hull is! But now it's fitted!

Day 13 Liftout

Image
  Final layer of epoxy primer applied! Liza is white again! Forgot to mention… yesterday we sprayed the chain markers. And also glass fibred a second battery tray into the hull. And that was a mistake… I forgot to seal the front cabin and there is dust everywhere. Oh well… And today I bought an extra through-hull fitting so that the fridge unit can be converted to water-cooled rather than air-cooled.  Oh and we removed all the masking tape so will re-apply tomorrow when we start anti-fouling. And we booked a lift in for 08:30 on Monday 24 May.

Day 12 Liftout

Image
  Three layers of AquaStop! And a stainless steel plate on the bow to protect it from damage by the anchor. 

Day 11 Liftout

Image
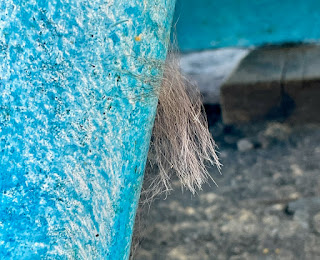
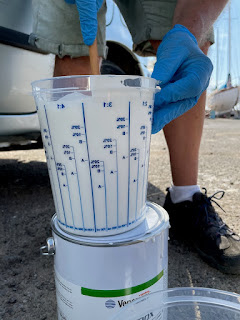
  So… what happens when a marina cat rubs up agains the keel while it's still wet with AquaStop? This happens! Second layer, AquaStop… ' And you really want to take a photo of me wearing these beautiful blue nitrile gloves? ' ' a deeper shade of blue ' Not the movie or the song, but the hull!

Day 10 Liftout

Image
  First layer AquaStop. Weird stuff. Sort of like painting transparent blue glass over the hull! 

Day 9 Liftout

Image
Now the painting begins!  One layer of Veneziani Adherpox, three layers of  Veneziani Aquastop, one layer ofVeneziani Adherpox then two layers or three of antifouling. Each layer one day between them!   Second job of the day: Adding some supports either side of the turnbuckle on the forestay so that if the turnbuckle breaks (will need replacing at some stage anyhow) then the mast won't come down! I did the CAD design and was laser cut and folded by AndreouLaser.  

Day 8 Liftout

Image
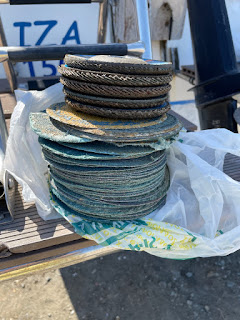
The ever growing stack of sanding disks and grinding disks…  That's it… the hull is sanded down to the gelcoat!

Day 6 liftout

Image
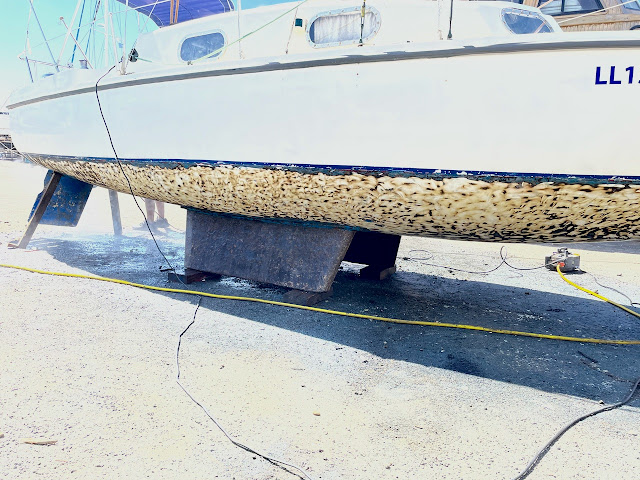
Sanding but still looks a long way to go! We have been lent a really, really high power pressure washer which helps cleaning between sanding, but is also knocking off lose chips of paint!  

Day 4 Liftout

Image
Well, we're sanding and sanding but it still looks a long way to go! There is another task essential for this liftout… and that is fixing the heads and the sea cock for it. The sea cock had jammed open and I didn't want to put pressure on it as if it broke I would have severe problems. To get at the sea cock I had to first remove the heads. A malodorous little job but had to be done! It's out... it's home now for servicing The other thing to fix is the height of the heads. It's slightly too high which means you are bent over when using the heads! The other thing I noticed was directly behind us on the hard was Windsong. Windsong is a famous little yacht, being one of the few remaining 'little ships' that went to Dunkirk to evacuate the British and Allied forces from the beach. Most were motor yachts, this was one of the very, very few that were sailing yachts. It needs quite a lot of repair this year.  

Day 3 liftout

Image
  One side of the second keel done by Sheila... so that's 50% of the keels done... the easy 50% And Lukas did about 1/3 of the port side.

Day 2 Liftout

Image
  So I carried on with the sanding of the hull... solved one problem and that was full eye protection. Then managed to miss the boat and hit my hand with the sander! So that was the end of sanding for the day, but then off to buy another 30m hose to try to wash down (that makes three hoses all linked together). That worked!

Lift out!

Image
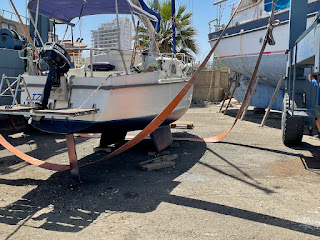
  I've been waiting literally months for this day! And now the crane arrives. Time for lift out! First step is a pressure clean at some unbelievably high pressure. Good job too, Liza really needed it! Few things to do first for those of us doing the clean up… I wanted to check if the above water part of the hull would clean and polish up or if something more serious was needed. The answer was, yes, it will polish up nicely. Thankful for that because, below the water line the problems were more than I was expecting. Although I don't seem to have osmosis the multiple layers of paint below the water line have lifted off the epoxy layer in places. Which means I have to grind back to the epoxy layer and add a new epoxy layer to bond to before adding the anti-fouling. A lot more work than I was expecting! I had Lukas to help me today and he managed to get a quarter of the keels done.  I worked on the hull at the same time... which then stuck dust to the test cleaned part of the hull